4x4 Tray & Canopy Guide: How to Plan a Practical Touring Setup
- Adventure Guide
- 7 min read
- 12 sections
A tray and canopy can completely change how a 4x4 works for camping, touring, fishing and family travel.
Done well, the setup can make packing easier, keep gear organised, protect equipment from the weather and create a home for power, water, refrigeration and the things you use every trip.
The key is planning the tray and canopy around the adventure rather than filling every available space with equipment.
Quick Takeaway
Start with how you will use the 4x4, then work backwards into the tray, canopy and internal layout.
Think about what needs to be accessed every day, what can live lower or further back, where power and water need to go, how the setup affects payload and towing, and what you may want to add later.
A bigger canopy is not automatically a better canopy. The best setup is the one that makes the trips you actually take easier.
Start With How You Will Use the 4x4
Local Weekend Adventurer
Quick access and simplicity may matter most. A fridge, basic power, recovery gear, fishing equipment and enough storage for one or two nights can be more useful than a heavily integrated system.
Family Getaway Explorer
Family travel can bring more organised storage, refrigeration, water, lighting, towing equipment and everyday gear into the setup.
Easy access matters because the things used most often need to be reachable without unpacking half the canopy.
Long-Term Traveller
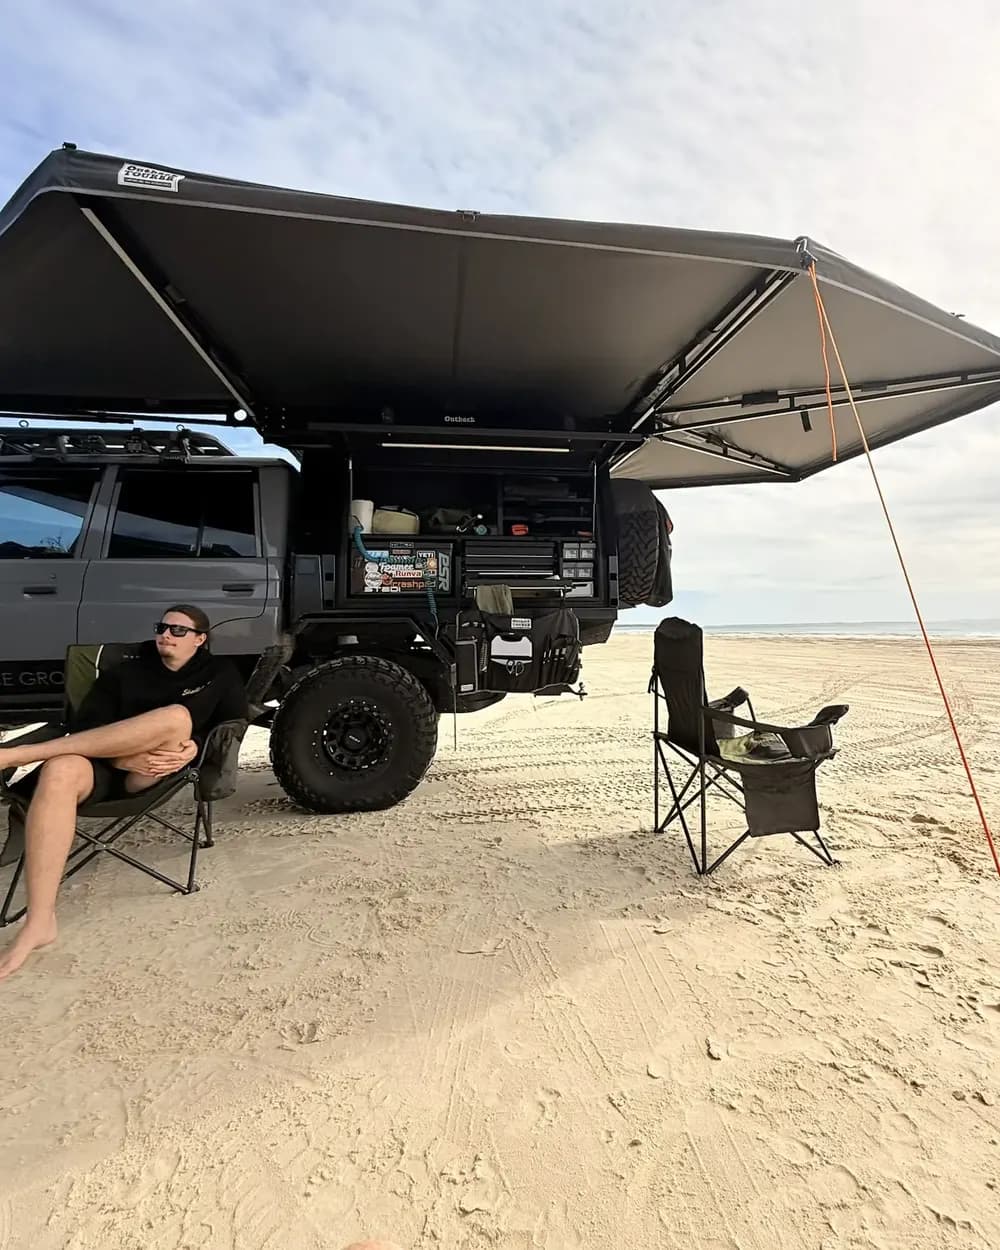
For longer travel, the canopy can become part of the everyday living system.
Power, solar, water, communications, spares, cooking gear, refrigeration and long-term storage may all need a defined place.
Tray First: What Needs to Be Considered?
The tray is the platform the rest of the build sits on.
It can affect weight distribution, storage, spare-wheel placement, towing access and how the 4x4 works if the canopy is ever removed or changed.
Common tray considerations include:
- steel or aluminium construction
- tray length and width
- headboard design
- sideboards
- under-tray toolboxes
- spare-wheel carriers
- mudguards
- tie-down points
- towbar and hitch access
- rear overhang
- canopy mounting method
- future accessories
A lighter tray can help preserve payload, while a heavier-duty design may suit more demanding use. The right choice depends on the complete vehicle rather than one component in isolation.
Canopy Size and Layout
A larger canopy gives more storage, but it also adds weight and makes it easier to keep adding equipment simply because there is space available.
The layout needs to balance usable storage with access, weight and the way the vehicle is loaded.
Full-Height or Compact?
A full-height canopy can provide more internal volume and upright storage. A lower or more compact setup can reduce bulk and may suit people who still use the tray for other purposes.
One Side or Both?
Think about which equipment needs to be accessed from the passenger side, driver side and rear.
Daily-use items are easier to live with when they are positioned for quick access without unloading other gear.
Permanent or Removable?
Some owners want the canopy permanently fitted. Others value the ability to remove it and return the 4x4 to a more open tray configuration.
That decision can influence mounting, weight, wiring and how integrated the rest of the fit-out becomes.
Plan the Inside Before the Outside Is Final
The internal fit-out can affect canopy dimensions, door openings, reinforcement, electrical routing and weight distribution.
Map the major items before the canopy design is locked in:
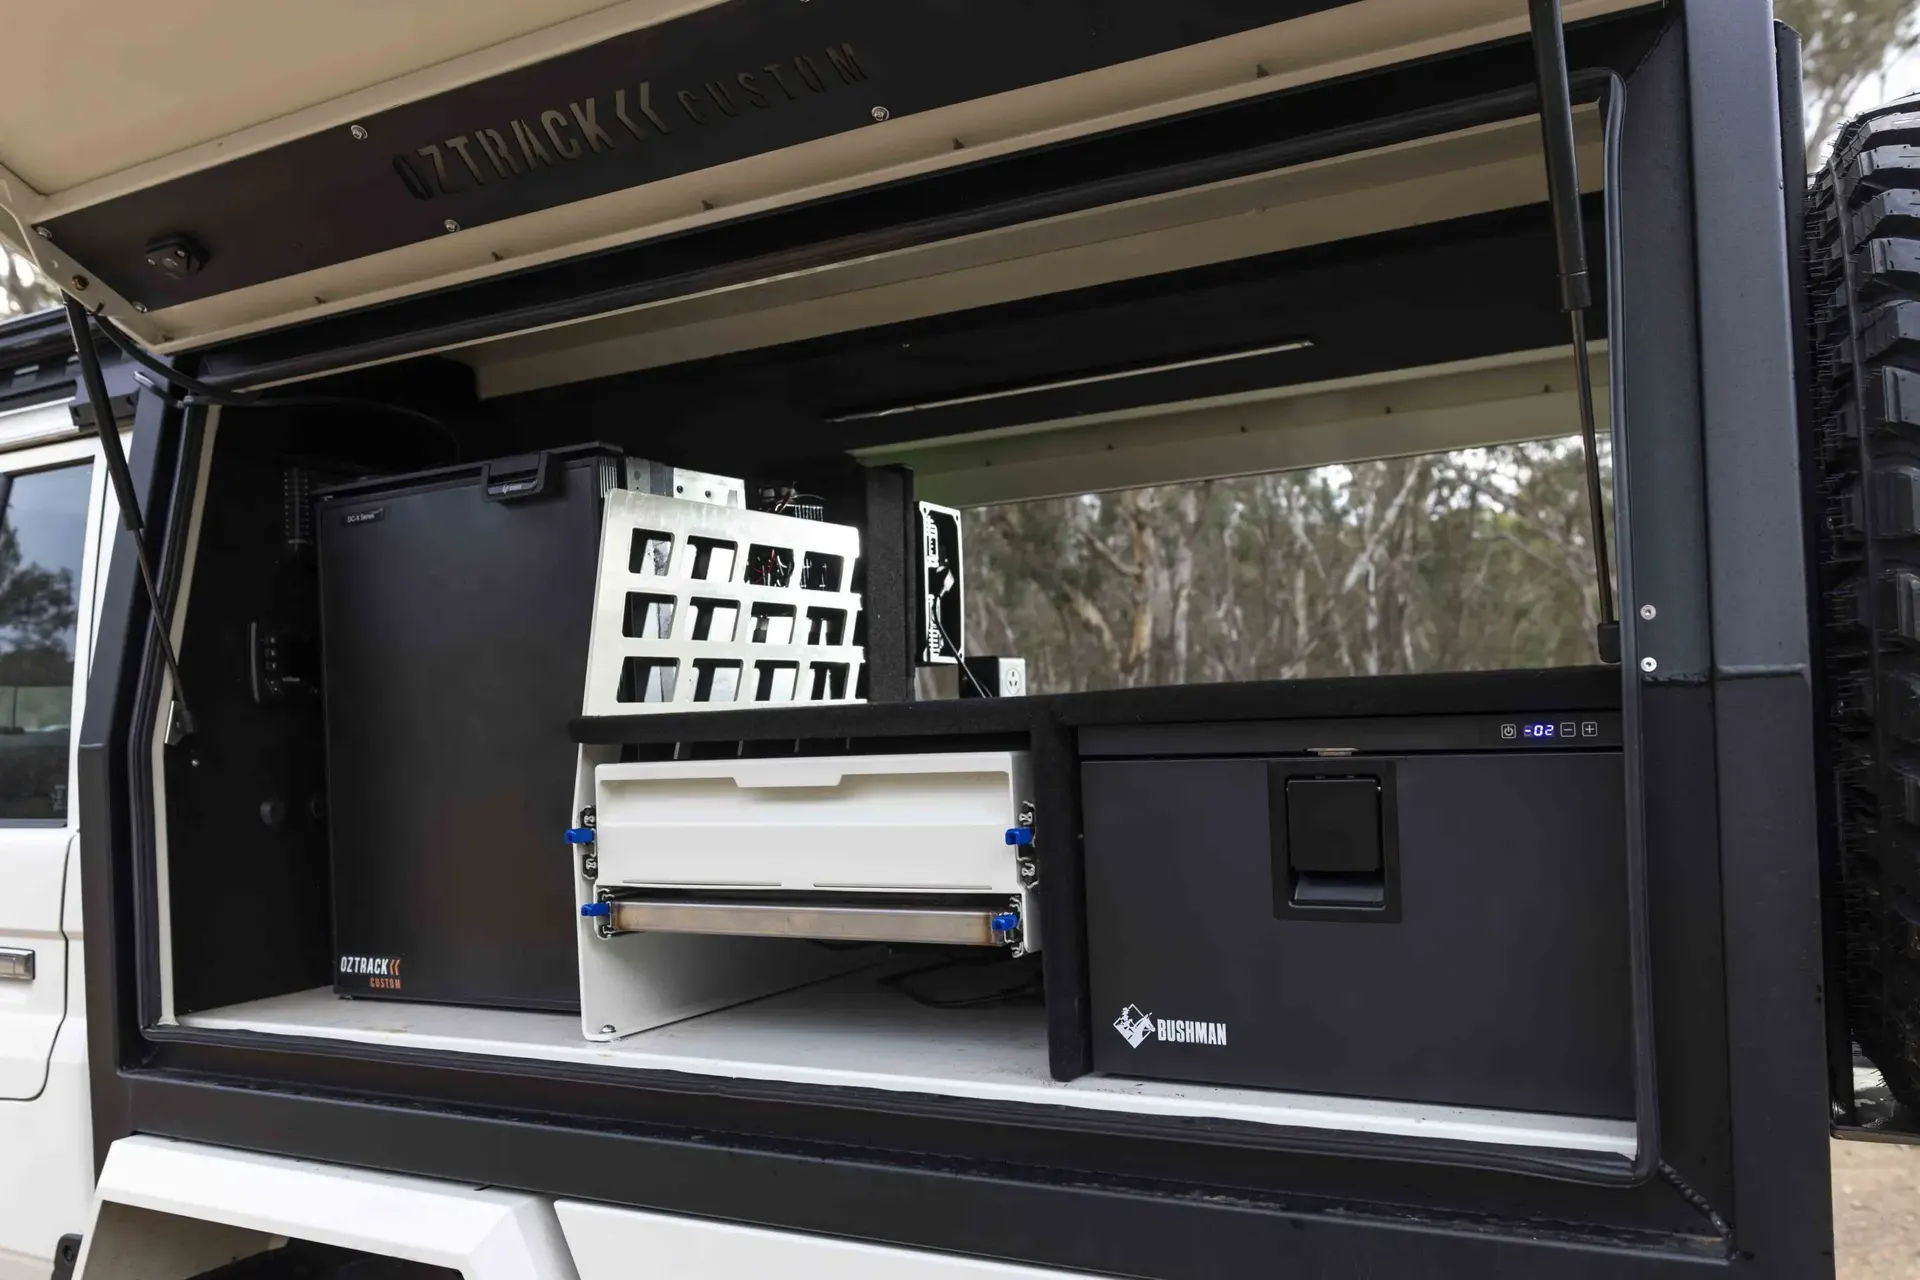
- fridge and fridge slide
- battery system
- inverter and chargers
- switch panel
- solar input
- water tank and pump
- drawers
- shelves
- cooking equipment
- recovery gear
- tools
- compressor
- communications
- lighting
- spares
- camp chairs and tables
Even a simple sketch of what goes where can reveal clashes before they become expensive rework.
Electrical and Power
The canopy is often where the touring electrical system lives, so electrical planning becomes part of the canopy design rather than an afterthought.
Useful questions include:
- What needs to run when the vehicle is parked?
- How much battery capacity fits the way you travel?
- Will the vehicle rely on solar?
- Is an inverter needed?
- Where will chargers and fuses be mounted?
- How will the system be ventilated and protected?
- Where will cables pass through the canopy?
- How easy will components be to service?
- What future electrical equipment may be added?
Water and Refrigeration
Water
Think about capacity, tank location, filling, drainage, pump access, hose connections and how water weight affects the vehicle when tanks are full.
Refrigeration
Think about fridge size, ventilation, access height, slide direction, power demand and whether the fridge can still be reached when the vehicle is packed.
For family and long-term touring, daily access can matter more than fitting the largest possible appliance.
Storage: Easy to Reach Beats Maximum Capacity
Good storage is about access and organisation, not simply filling every empty space.
A useful way to plan storage is to divide equipment into:
- used every stop
- used every day
- used occasionally
- emergency or recovery only
Fridge, food, water, camp lighting and frequently used cooking gear usually benefit from quick access.
Recovery equipment and rarely used spares can live in less convenient spaces.
Keeping heavier equipment low and thinking about left-to-right weight distribution can also matter for the complete vehicle.
Weight and Payload
Tray and canopy builds can use payload quickly because the structure itself is only the beginning.
Batteries, water, fridge, drawers, tools, recovery equipment and luggage all add to the finished vehicle.
Passengers and tow-ball load can then use more of the available carrying capacity.
Weight planning belongs early in the design process, especially for vehicles that will tow or carry a complete long-term touring setup.
 Related GuideGVM Upgrades
 Related GuideGVM vs GCM
Towing Can Change the Canopy Plan
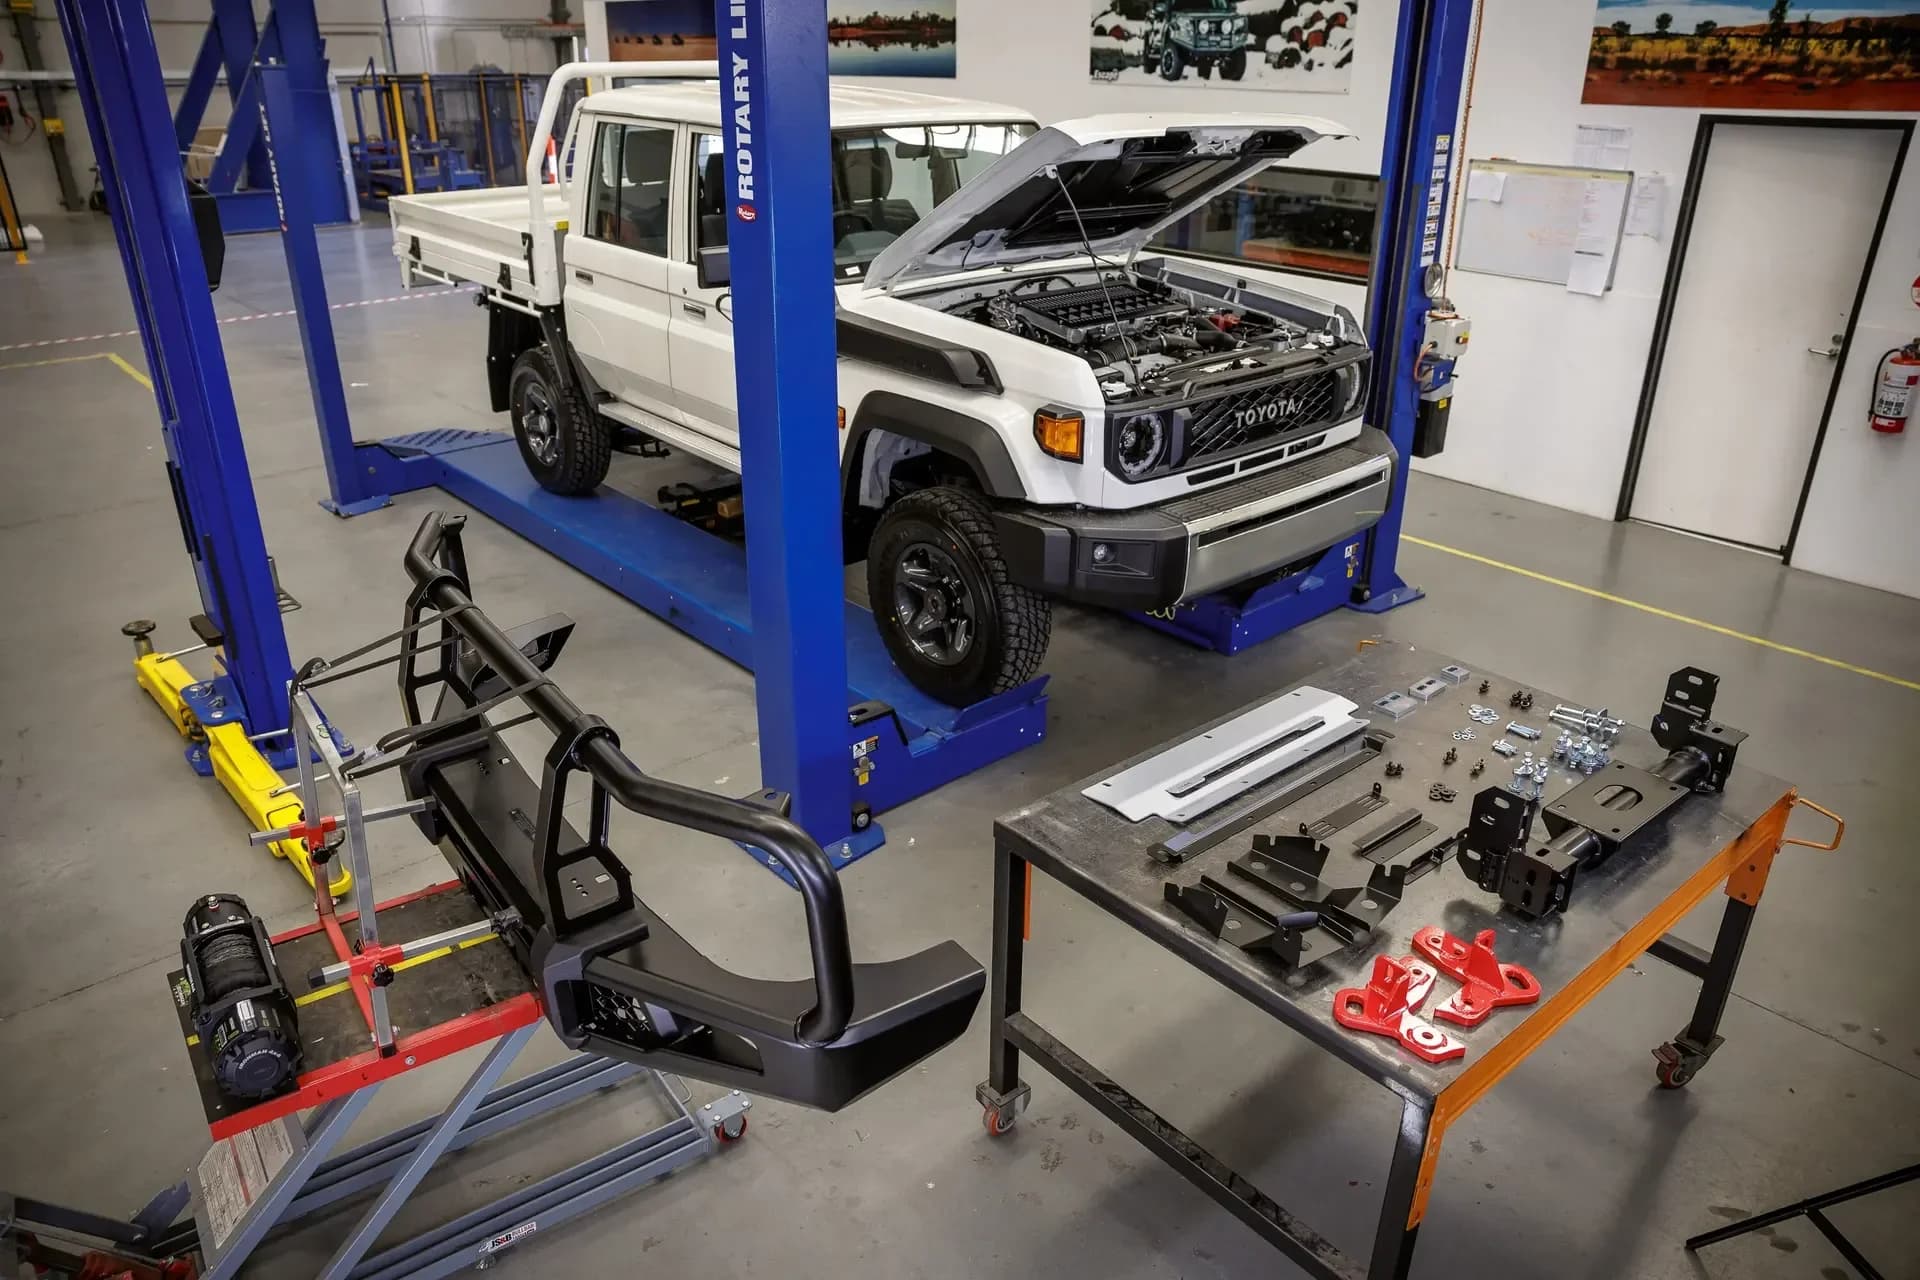
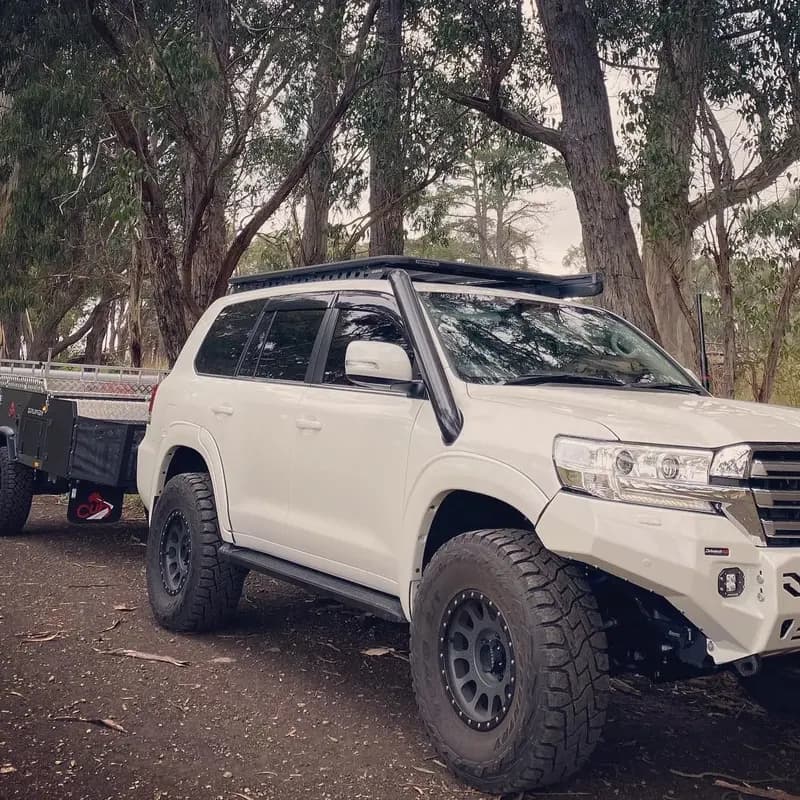
A tray and canopy can be part of a wider tow-vehicle project.
The finished setup may need to account for caravan tow-ball load, rear axle load, hitch access, spare-wheel location and how heavy equipment is positioned.
A canopy that works perfectly for solo camping may need a different layout when the same vehicle is carrying family gear and towing a caravan.
Creature Comforts Matter
A touring build does not need to be uncomfortable to be capable.
Lighting that works at camp, a fridge that is easy to reach, water on tap, organised cooking gear, charging points and a place for everyday items can make the vehicle far easier to live from.
For family and long-term touring, these practical comforts can be just as important as the headline off-road accessories.
Complete Canopy Fit-Out or Build It in Stages?
Some owners know the final layout and want the tray, canopy, electrical, water and storage systems designed together from the beginning.
Others prefer to fit the tray and canopy first, use the vehicle and add more equipment once they understand what they genuinely need.
Both approaches can work.
The key is allowing for the likely end state so early decisions do not create unnecessary rework later.
 Related GuideComplete 4x4 Build vs Staged Build
Questions to Ask a Tray & Canopy Supplier
What tray and canopy construction options suit the way I will use the vehicle?
What is the estimated finished weight of the tray and canopy?
How is that weight distributed across the vehicle?
Can the layout accommodate my planned fridge, batteries, water and storage?
How will electrical cables, solar inputs and future upgrades be routed?
Where can water tanks and pumps be positioned?
How will spare wheels, recovery gear and heavy items be mounted?
Will the setup affect towbar or hitch access?
How is the canopy sealed against dust and weather?
What hinges, latches and seals are used?
How easy is the fit-out to service or modify later?
What supplier documentation will be provided for the completed build?
Key Takeaways
- Design the tray and canopy around the adventure, not the accessory list.
- Map the internal fit-out before the canopy dimensions are locked in.
- Think about power, water, refrigeration and storage as one integrated system.
- Keep frequently used equipment easy to reach.
- Consider weight and payload from the beginning.
- Towing can change how the tray, canopy and rear of the vehicle need to be planned.
- A staged build still benefits from a clear long-term direction.
- Use supplier quotes and technical specialists to validate the final project.
Planning checklist
Planning a 4x4 Tray & Canopy? The Touring Fit-Out Checklist
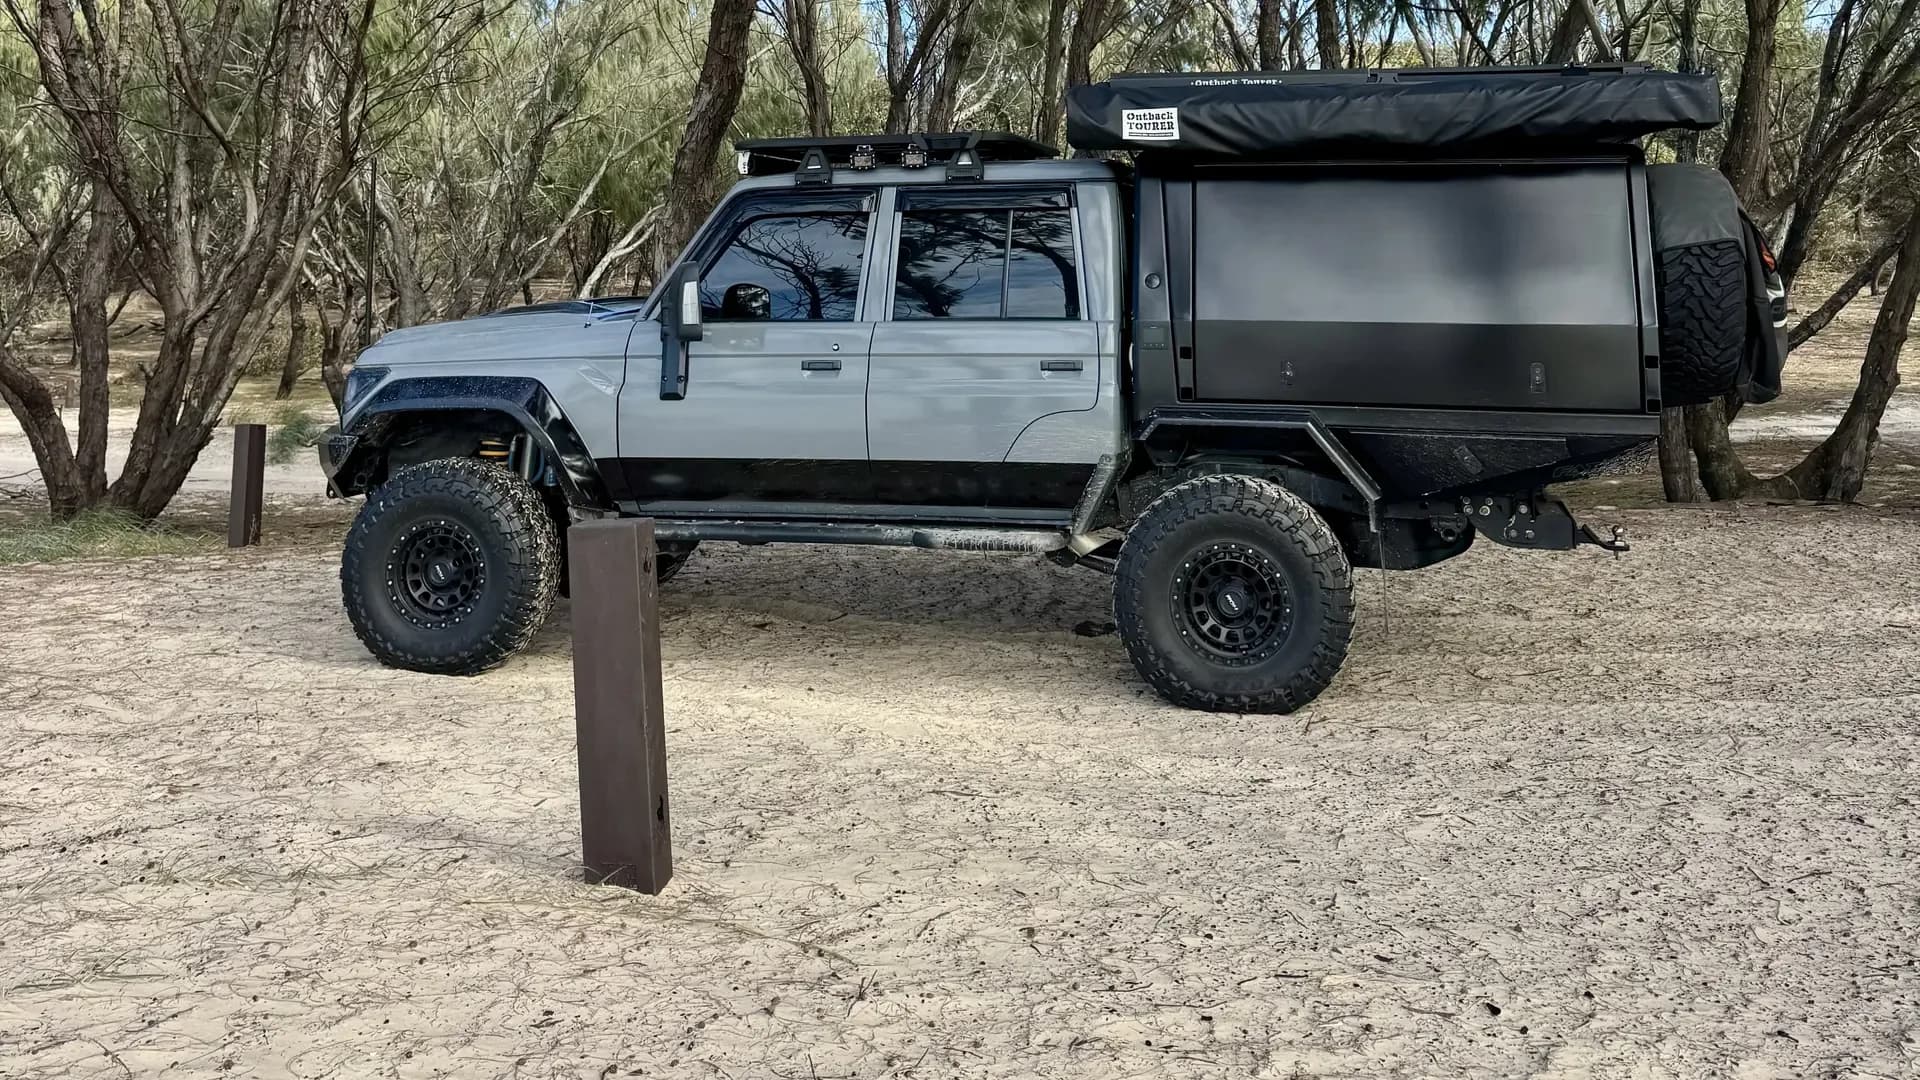
Drewsy's 79: A Real Canopy Example
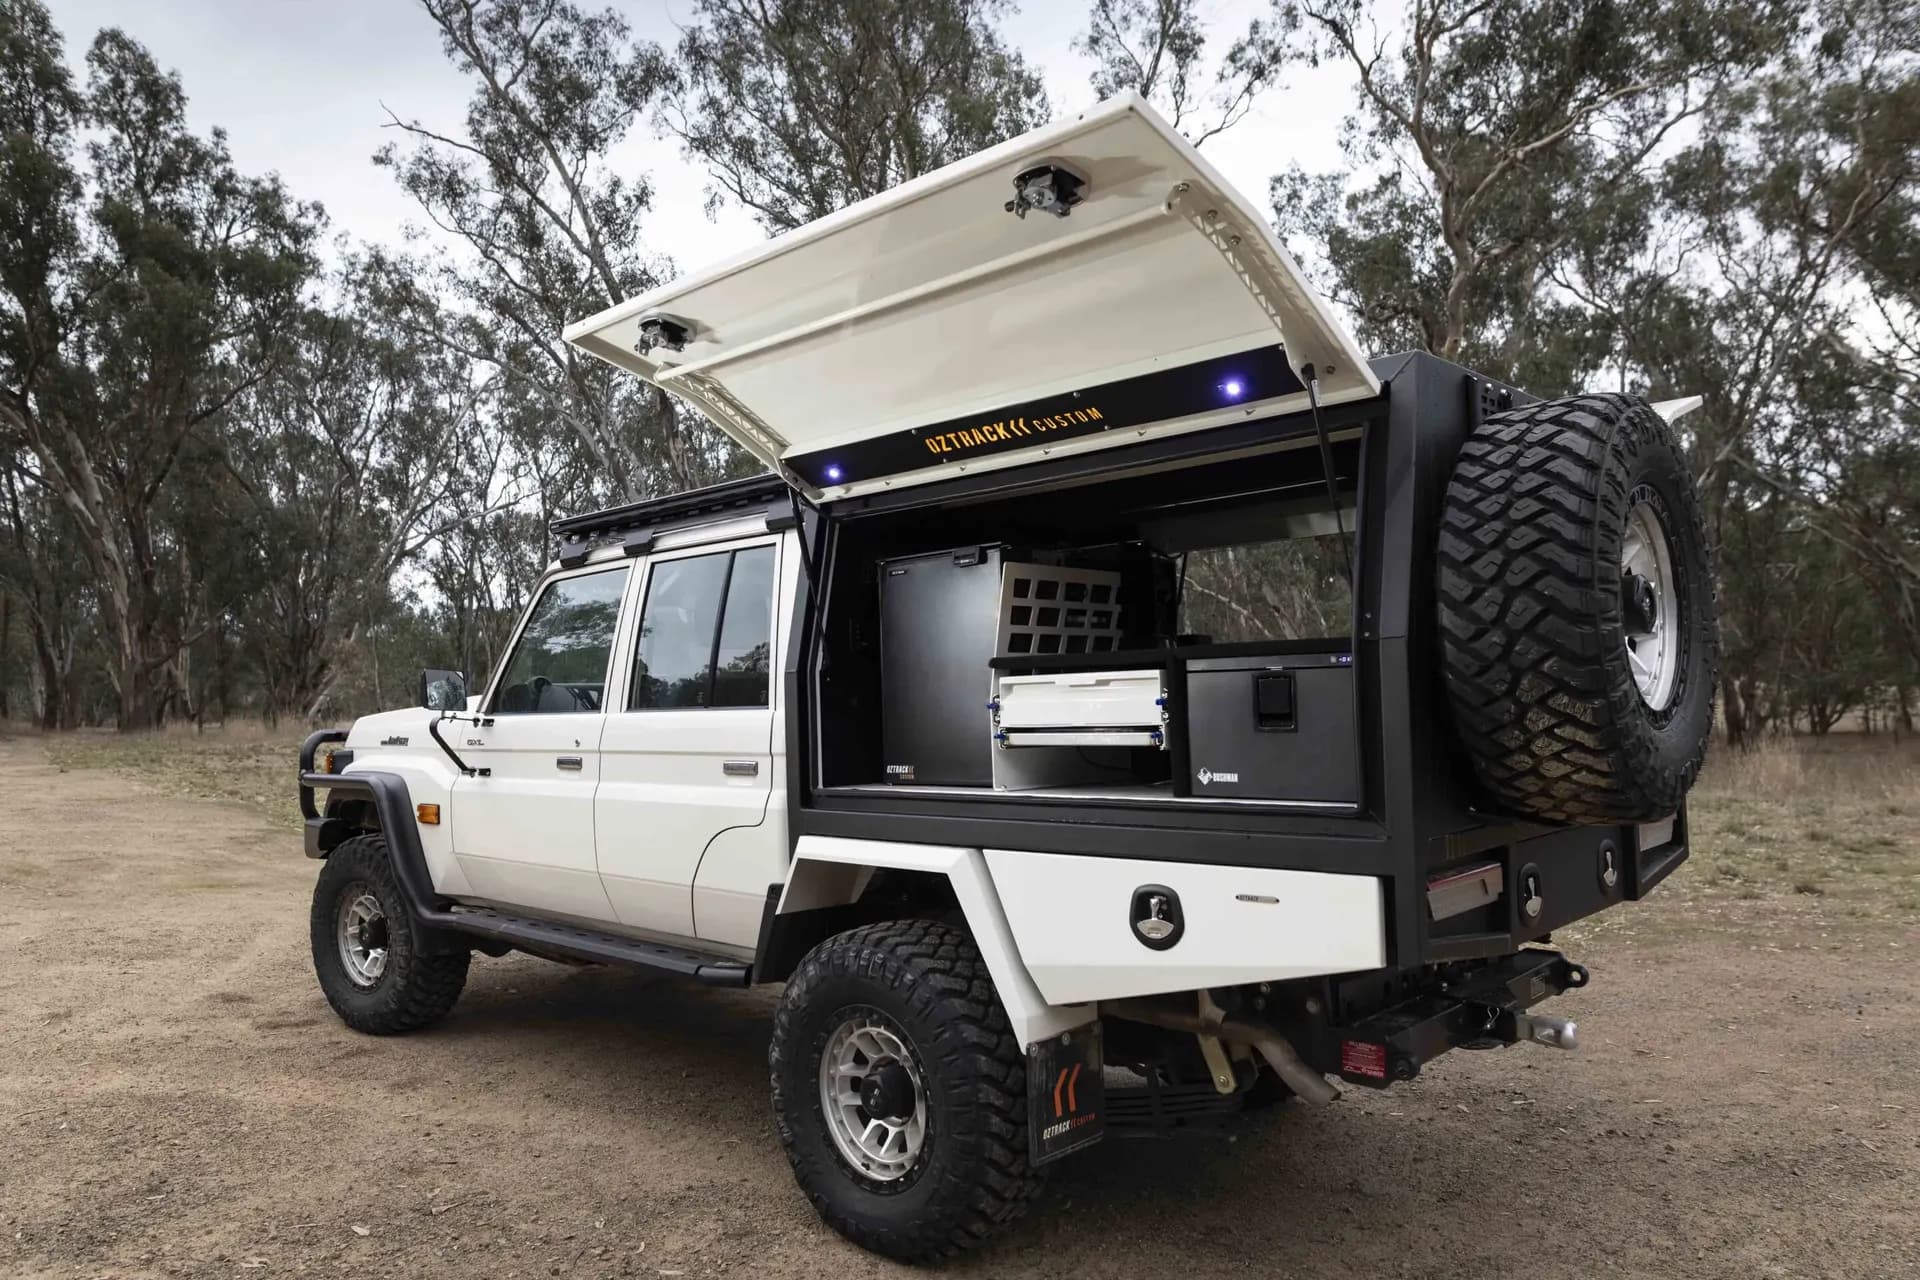
Drewsy's 79 gives Built for Adventure a real platform for showing how a tray and canopy work beyond a supplier drawing.
The build can show where the fridge, power, water, storage and everyday gear actually live, how access works at camp, what has been easy to live with and what may change as the setup evolves.
That real-use content is valuable because the best canopy ideas are often the ones that still make sense after the vehicle has been packed, driven, camped from and used in bad weather.
Follow @drewsys79Common Questions
Is aluminium or steel better for a 4x4 tray?
It depends on the vehicle, load, durability requirements and intended use. Weight is one consideration, but construction, repairability, load requirements and supplier design also matter.
How big does my canopy need to be?
The right size depends on what needs to live inside it and how the vehicle is used. Start by mapping the fridge, power, water, storage and everyday gear before choosing the final dimensions.
Can I add the electrical system later?
Yes. Planning for it early can still make cable routing, battery location, ventilation, solar inputs and service access easier.
Does a tray and canopy affect payload?
Yes. The tray, canopy and everything installed or carried in them form part of the vehicle's loaded weight and can reduce available payload.
Do I need to complete the entire fit-out at once?
No. A staged fit-out can work well when you want to use the vehicle first and add more over time. Keep the likely finished layout in mind so future additions do not require unnecessary rework.
Finance Your Adventure
If the tray and canopy plan has moved from research into a real purchase decision, Adventure Finance is the separate specialist finance pathway. Built for Adventure keeps this Guide focused on planning the setup itself. Questions about pre-approval, lender criteria, rates, terms or whether eligible tray, canopy and integrated fit-out costs can be financed belong with Adventure Finance.